Como adicionar um plano móvel a um Apple Watch com a Configuração de família
Um guia passo a passo

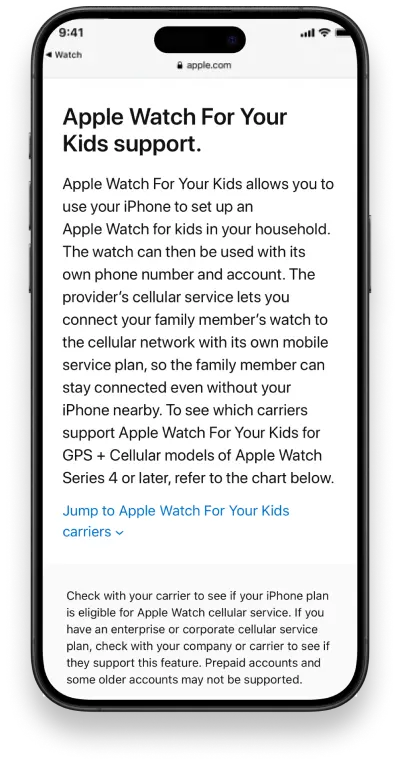
O modo Configuração de família permite-lhe configurar um ou mais relógios Apple como um dispositivo móvel autónomo para alguém que não tenha o seu próprio iPhone. Após a configuração, os relógios irão funcionar de forma independente sem um iPhone por perto.
A Configuração de família permite-lhe gerir cada relógio a partir do seu iPhone, como por exemplo administrar os controlos parentais no dispositivo de uma criança.
Como configurar a Partilha de família
Primeiro, verifique se o seu Apple Watch é compatível.
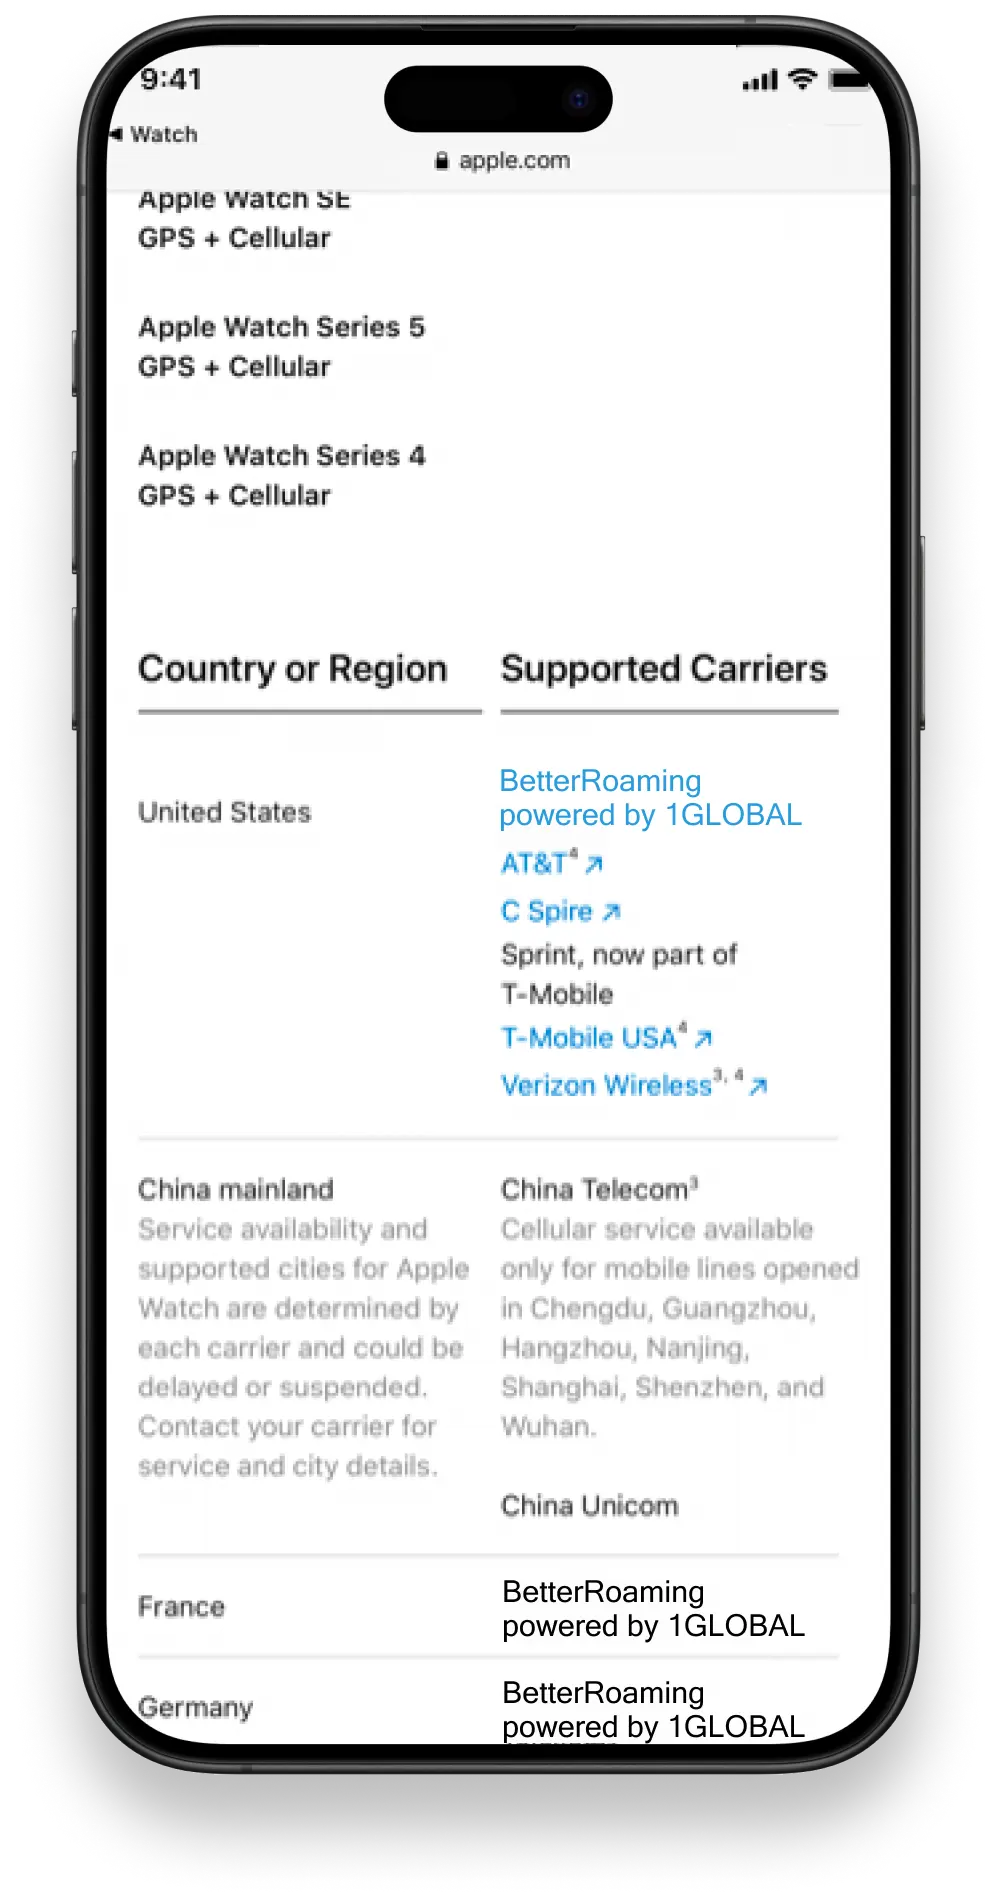
Os planos BetterRoaming para a Configuração de família Apple Watchsão compatíveis com os seguintes modelos:
Apple Watch Series 4 ou superior com dados móveis
Apple Watch SE ou seuperior com dados móveis
(Consulte o site Apple para mais informações)
Adicionalmente, irá necessitar de um iPhone 6S ou superior com o iOS 14 ou superior instalado e o seu relógio tem de ter o WatchOS7 ou superior instalado. Recomendamos que atualize tanto o iPhone como o relógio para o iOS e o Watch OS mais recentes. Também irá necessitar de pelo menos um ID Apple ativo para iniciar sessão.
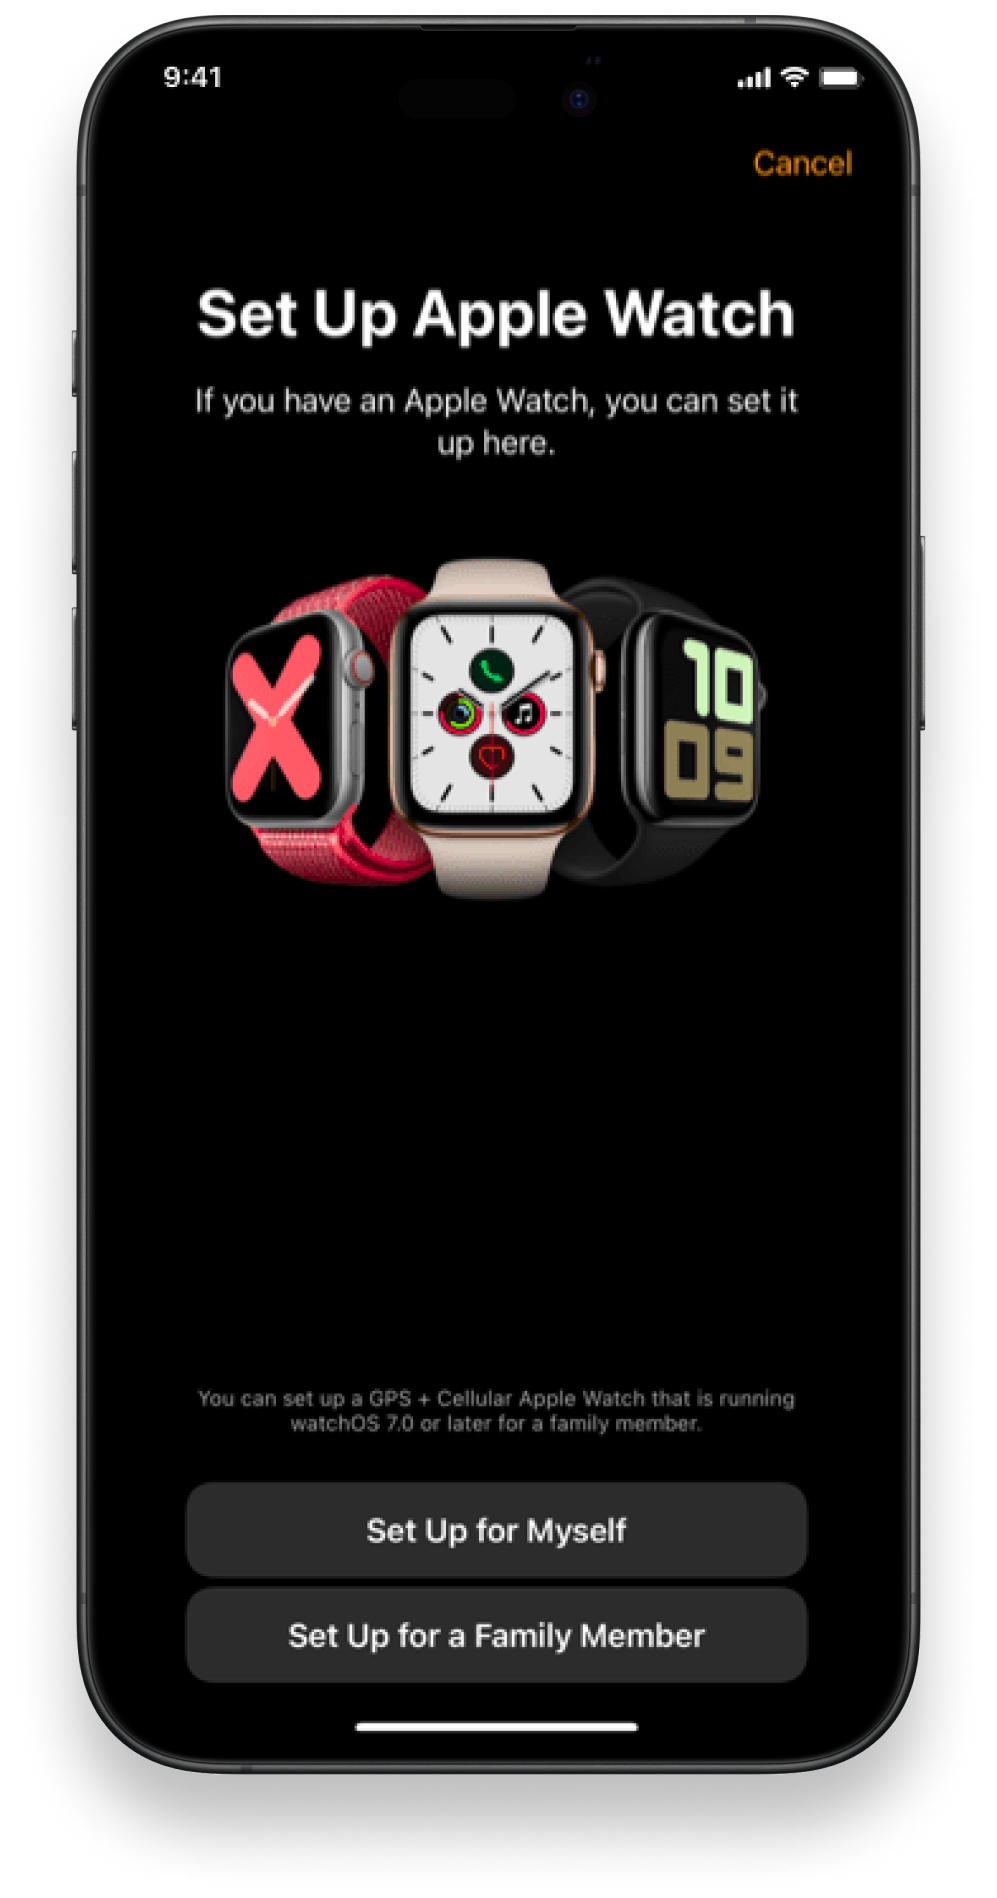
Configurar um Apple Watch para um elemento da família
Após aceder à Partilha de família, está pronto para configurar o relógio de outra pessoa. Certifique-se de que tem o relógio e o iPhone à mão e abra e aplicação Watch no iPhone.
Antes de começar a configurar o Apple Watch, certifique-se de que configura a Partilha de família no iPhone. Pode fazê-lo ao aceder a Definições > ID Apple > Partilha de família > Adicionar membro.
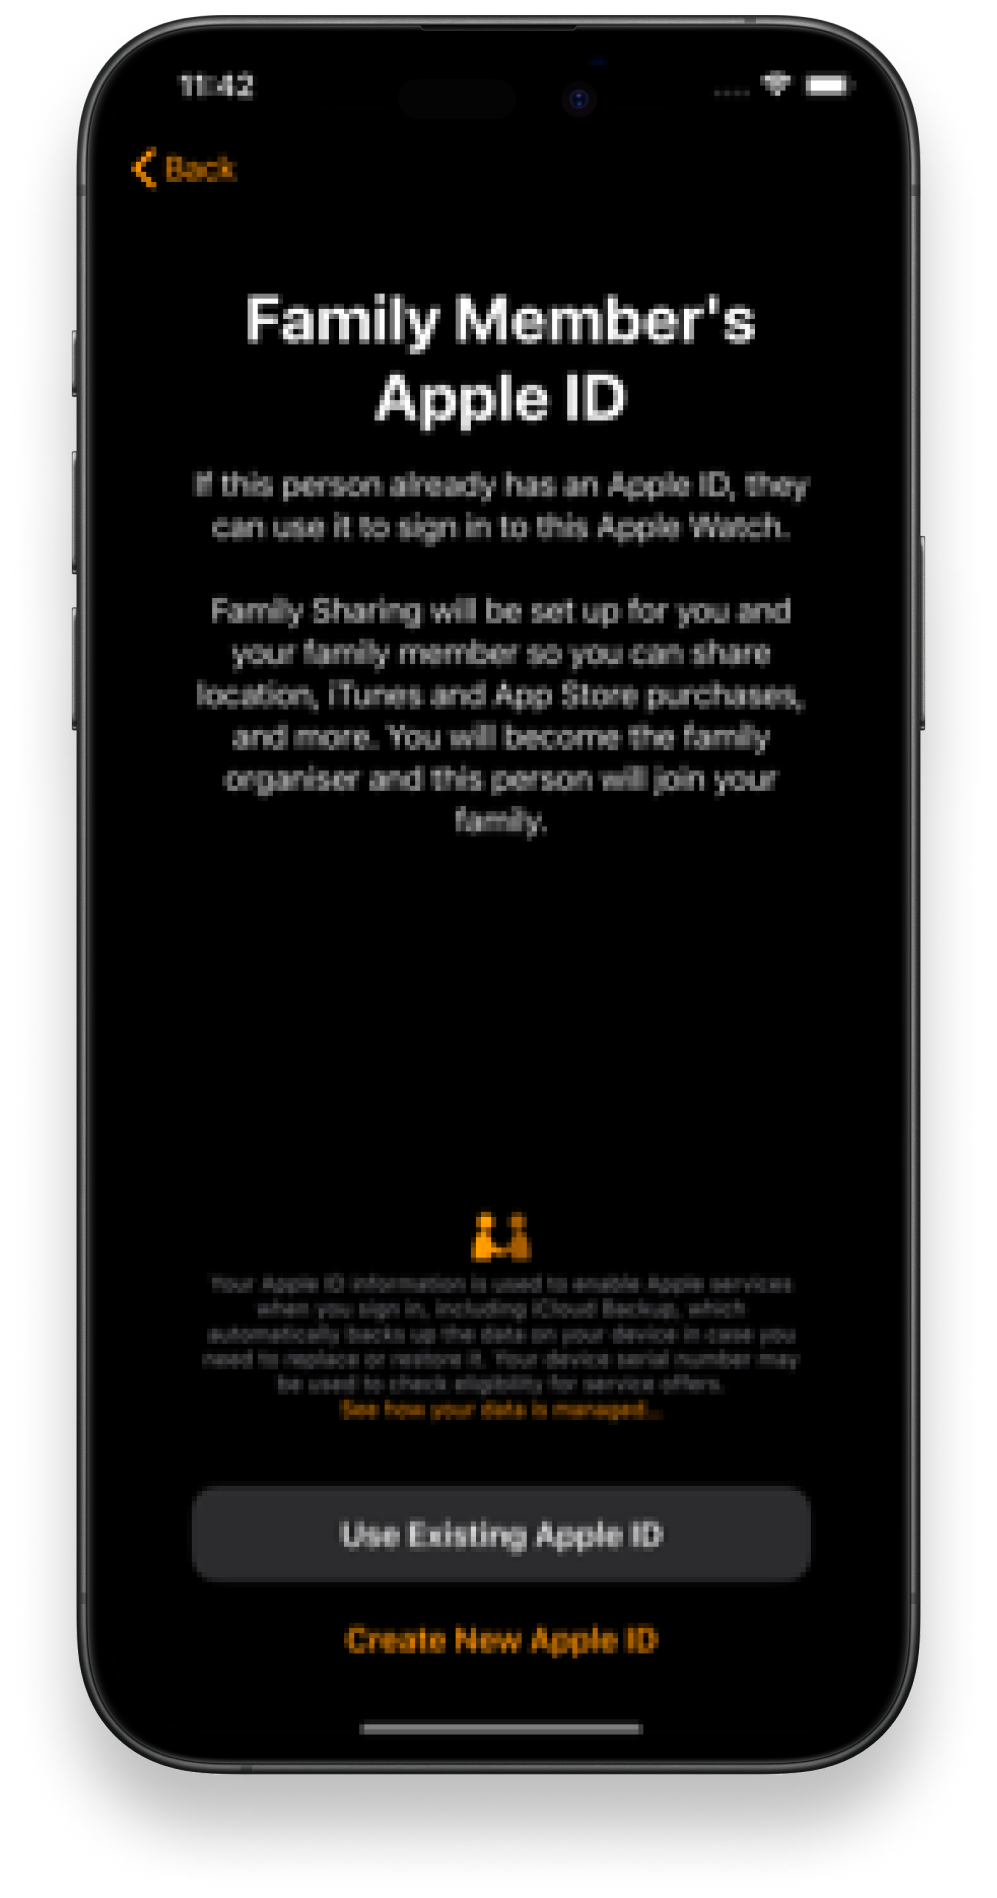
Em seguida, pode introduzir um ID Apple existente ou criar um novo. Também pode adicionar ou criar um novo ID Apple ao configurar o Apple Watch pela primeira vez.
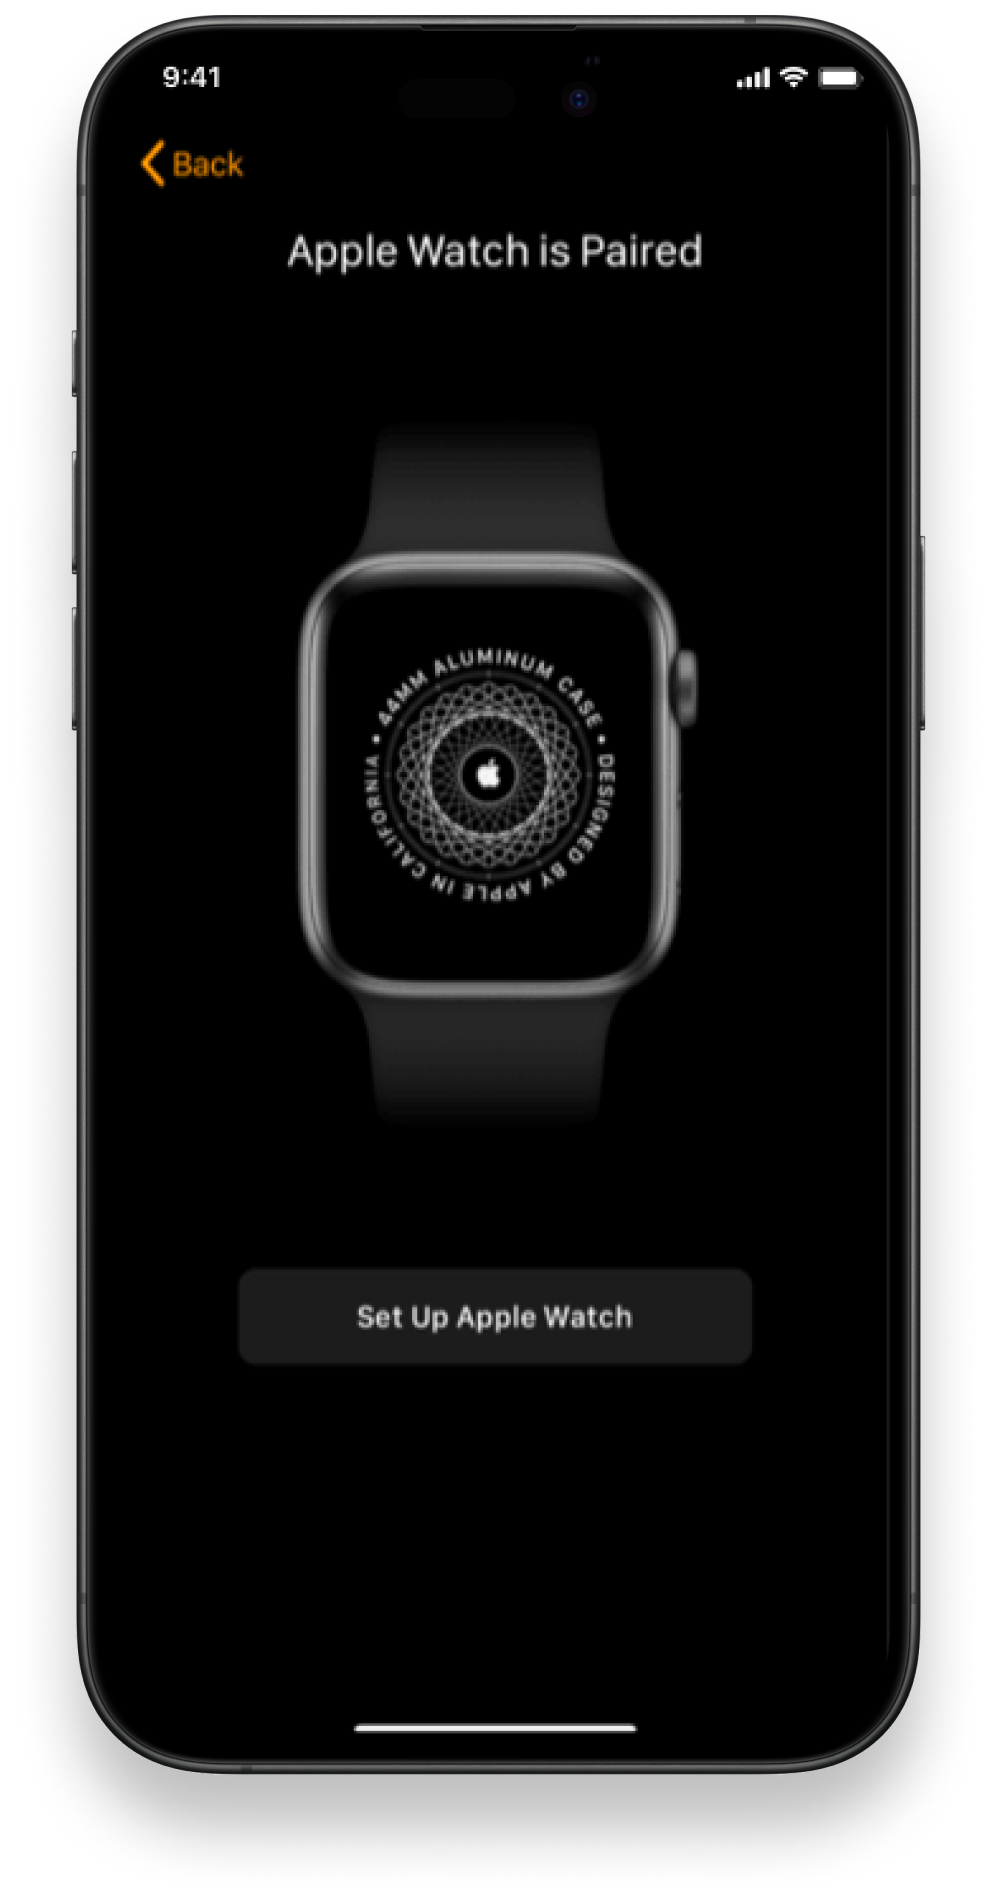
Após configurar a Partilha de família, abra a aplicação Watch no iPhone. Agora, ligue o relógio. Se o relógio tiver sido acabo de comprar, prima o botão lateral até ver o logótipo da Apple no ecrã. Se estiver a configurar um Watch antigo para um novo utilizador, terá de começar por desemparelhar e limpar o mesmo antes de poder utilizar a Configuração de família. Saiba como eliminar um Apple Watch aqui.
Saiba como eliminar um Apple Watch aqui.
e selecione "Configurar Apple Watch"

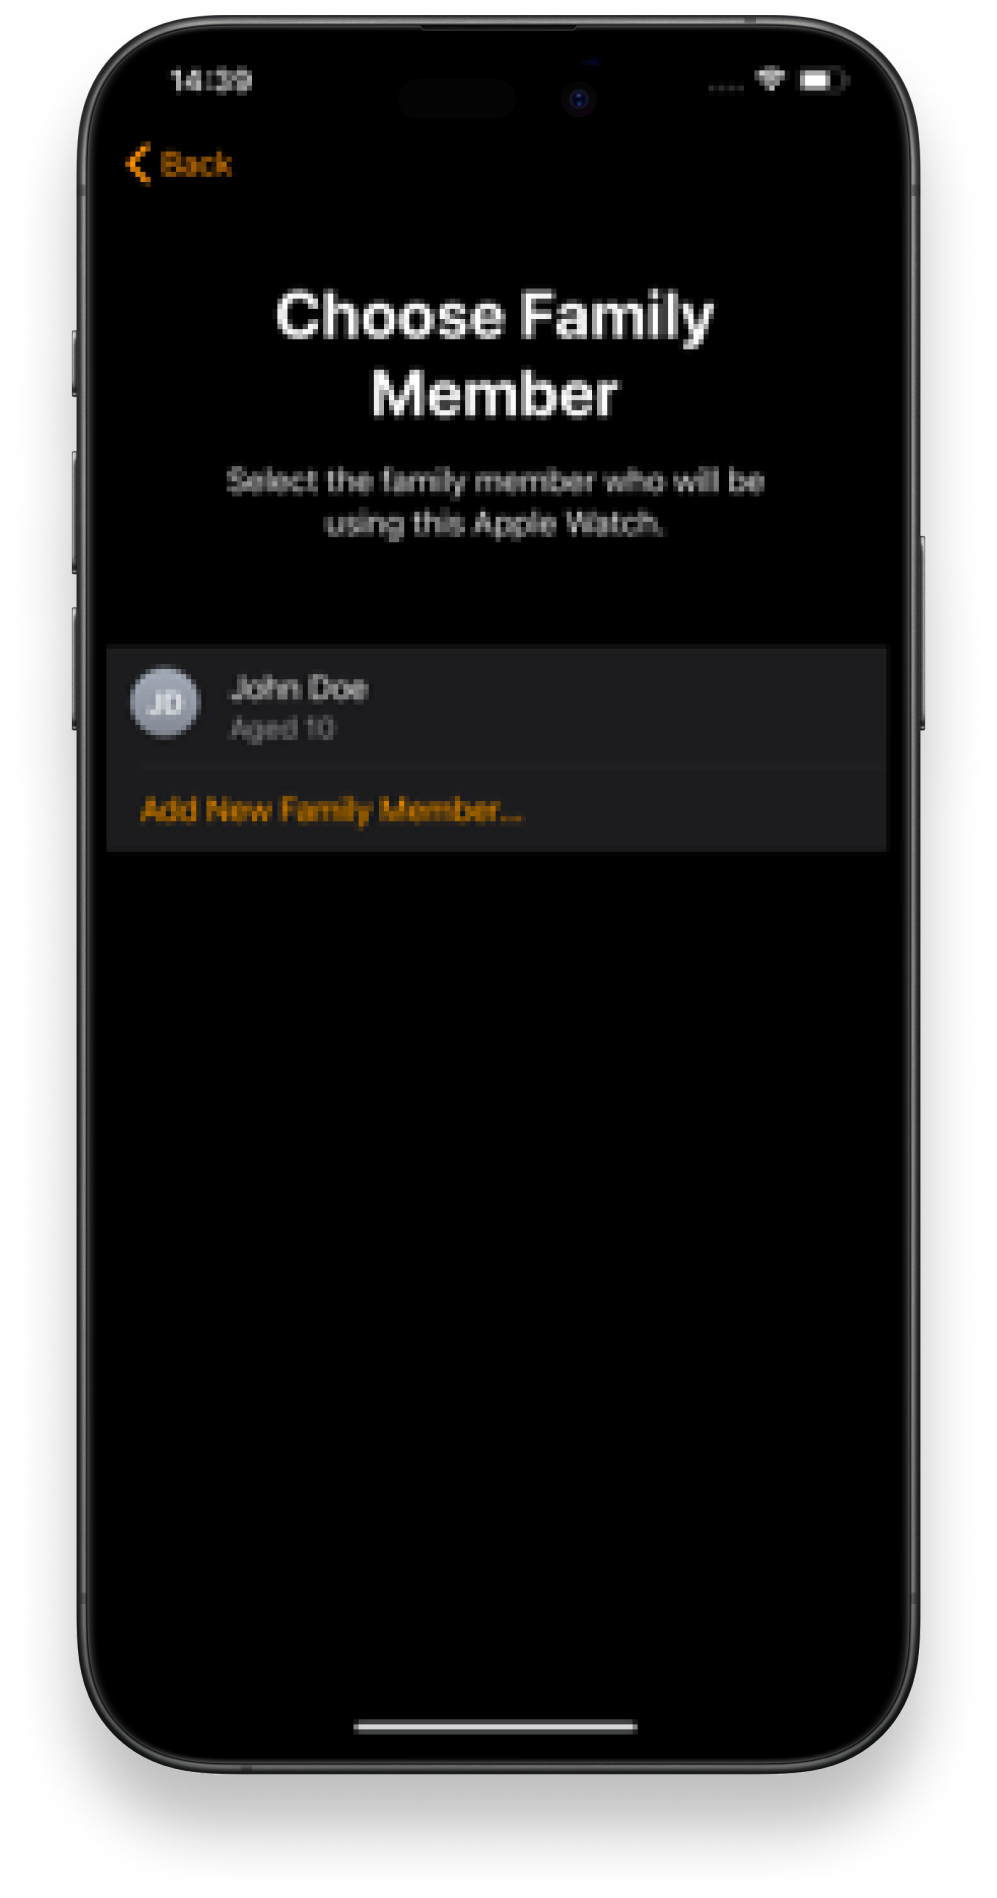
Se não vir o nome, selecione "Adicionar novo elemento da família". Pode acrescentá-lo introduzindo o ID Apple existente ou criando um novo
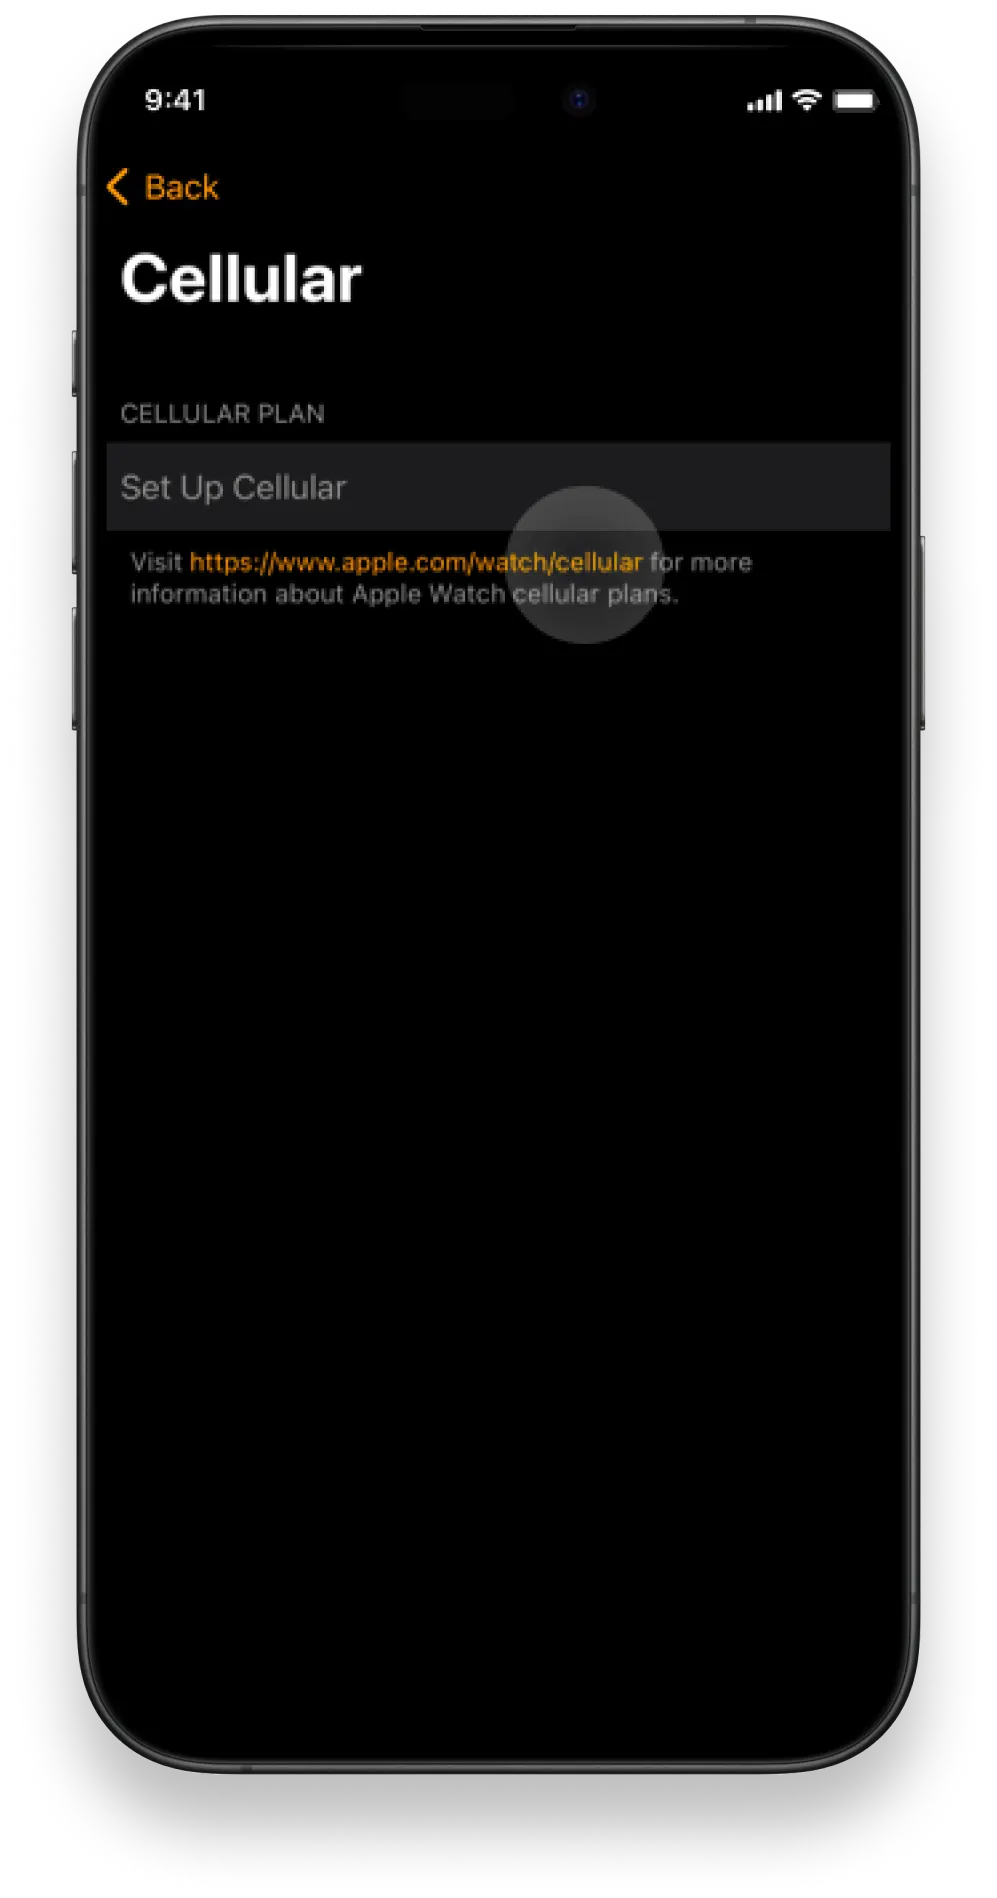
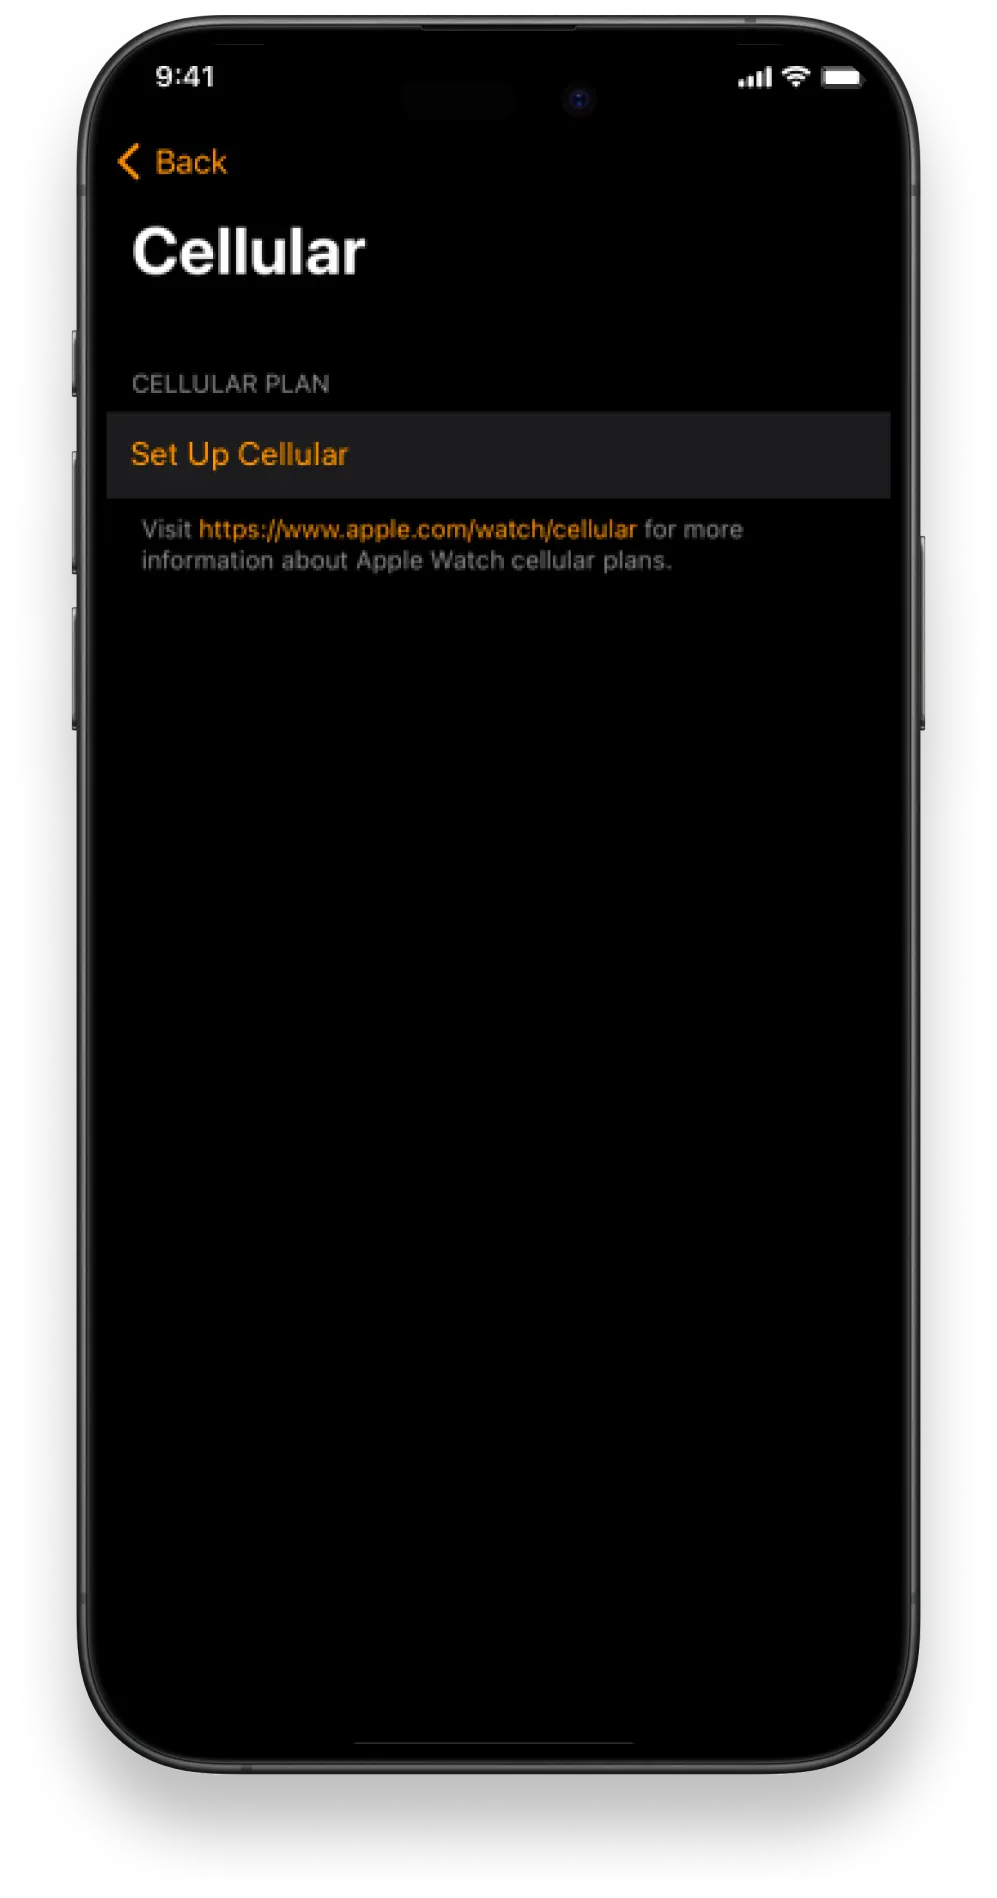
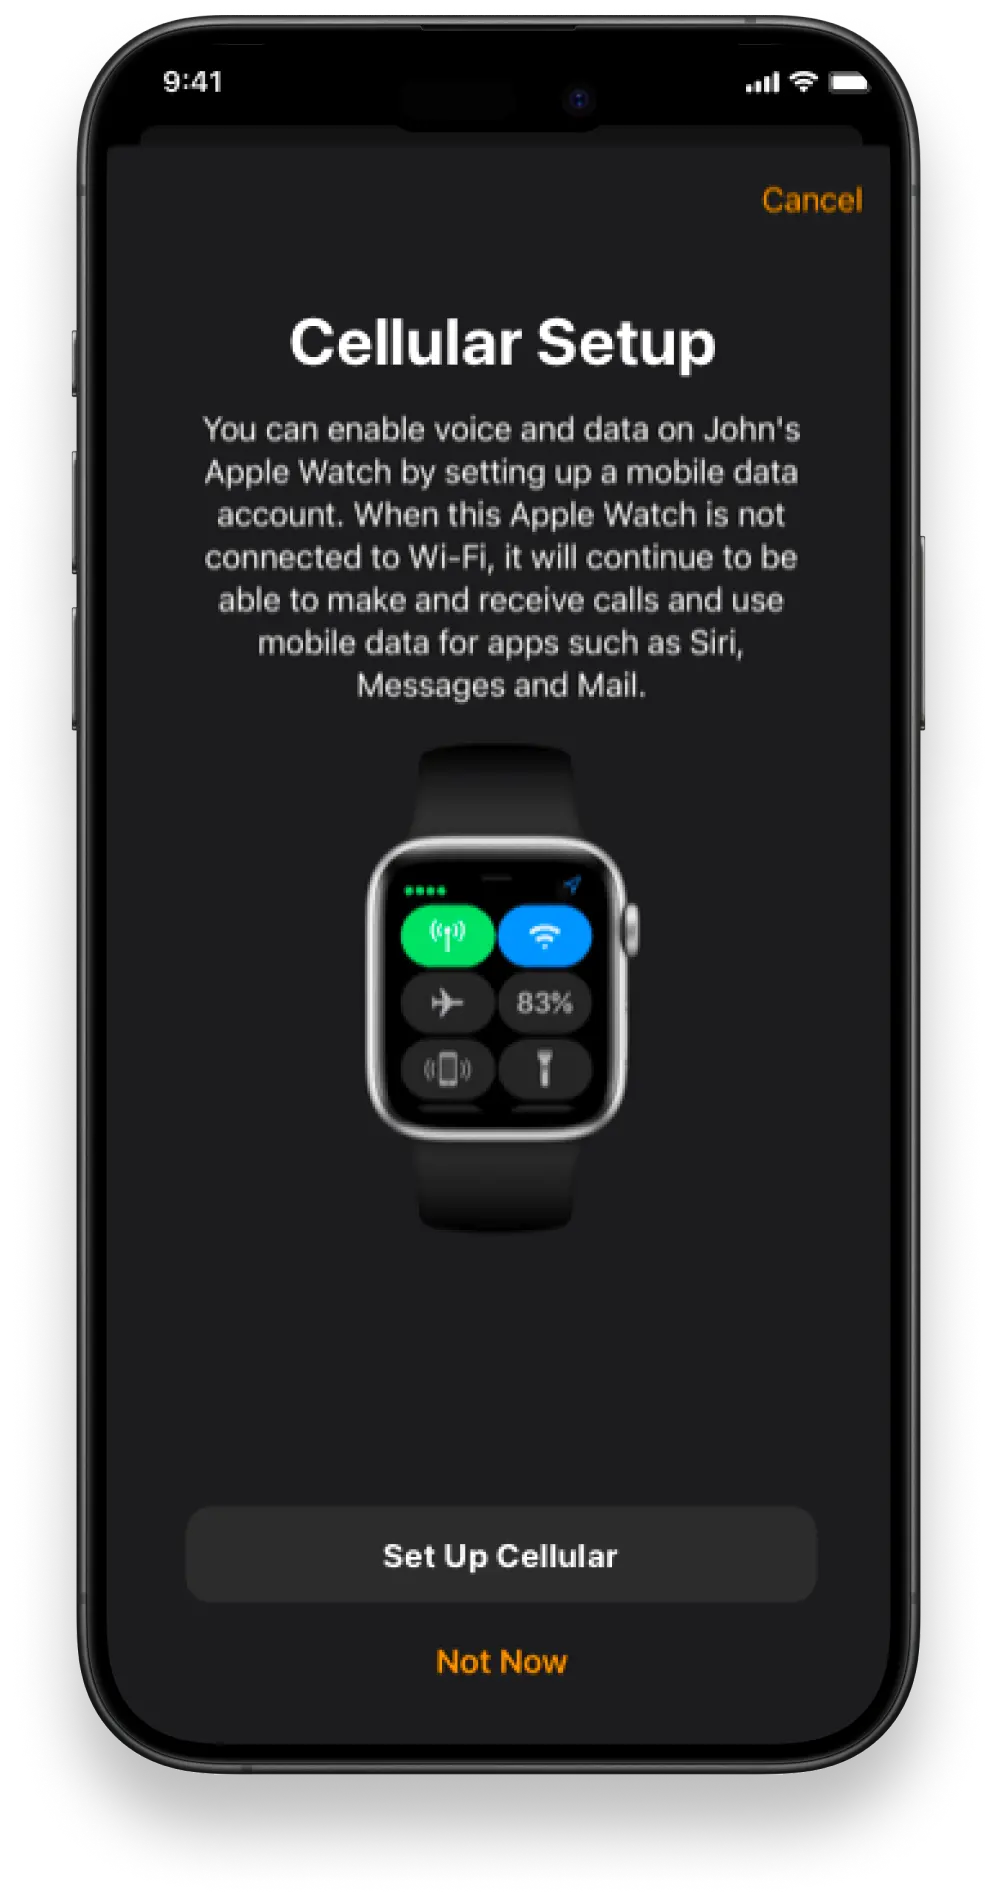
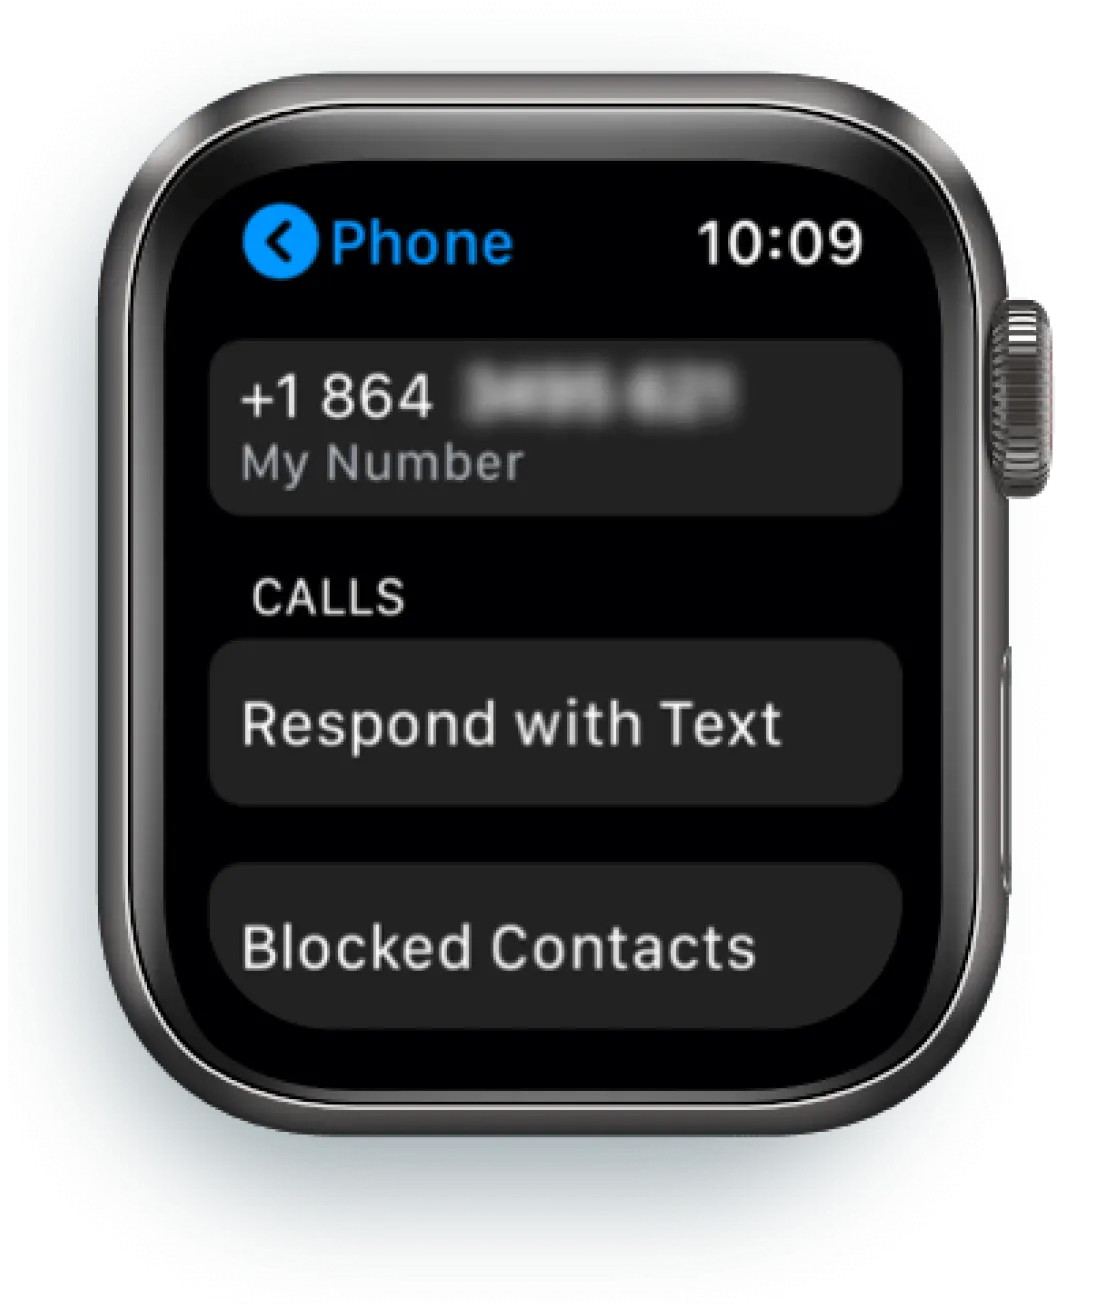
Como adicionar um plano dados a um Apple Watch

e selecione Watch
Se o seu operador suportar vários planos para o Watch na sua região, irá ver uma lista de todos os planos disponíveis
clique na ligação para pesquisar outros operadores. Será reencaminhado para o site Apple. Em Configurar família, selecione Ir para operadores de rede de configuração de família
A localização atual será selecionada automaticamente
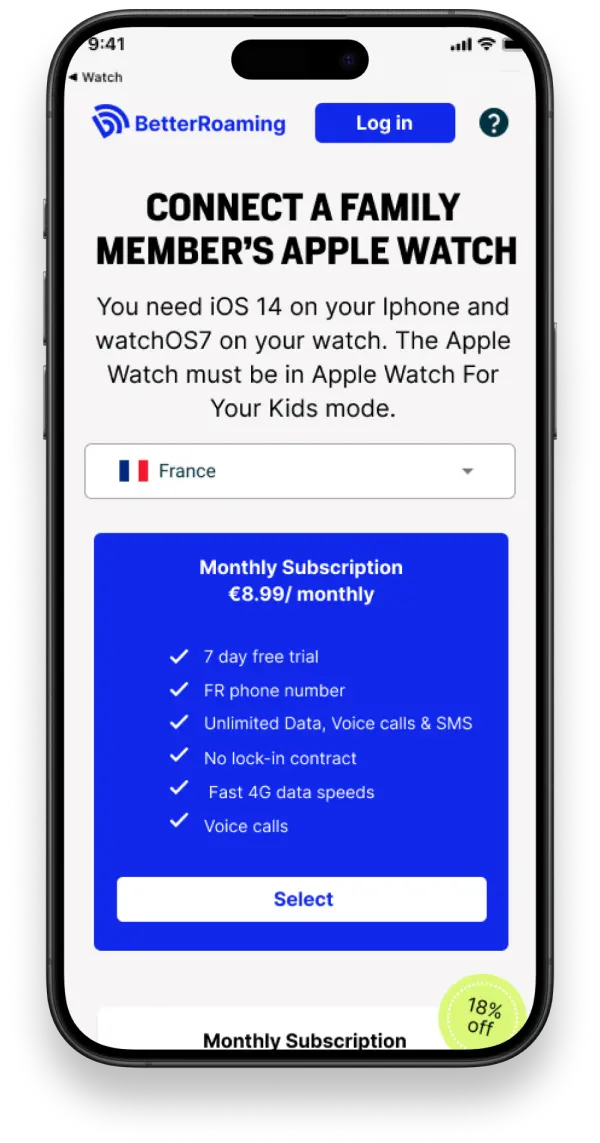
Todos os nossos dispositivos que ligar à BetterRoaming recebem automaticamente um período de 7 dias de avaliação gratuita
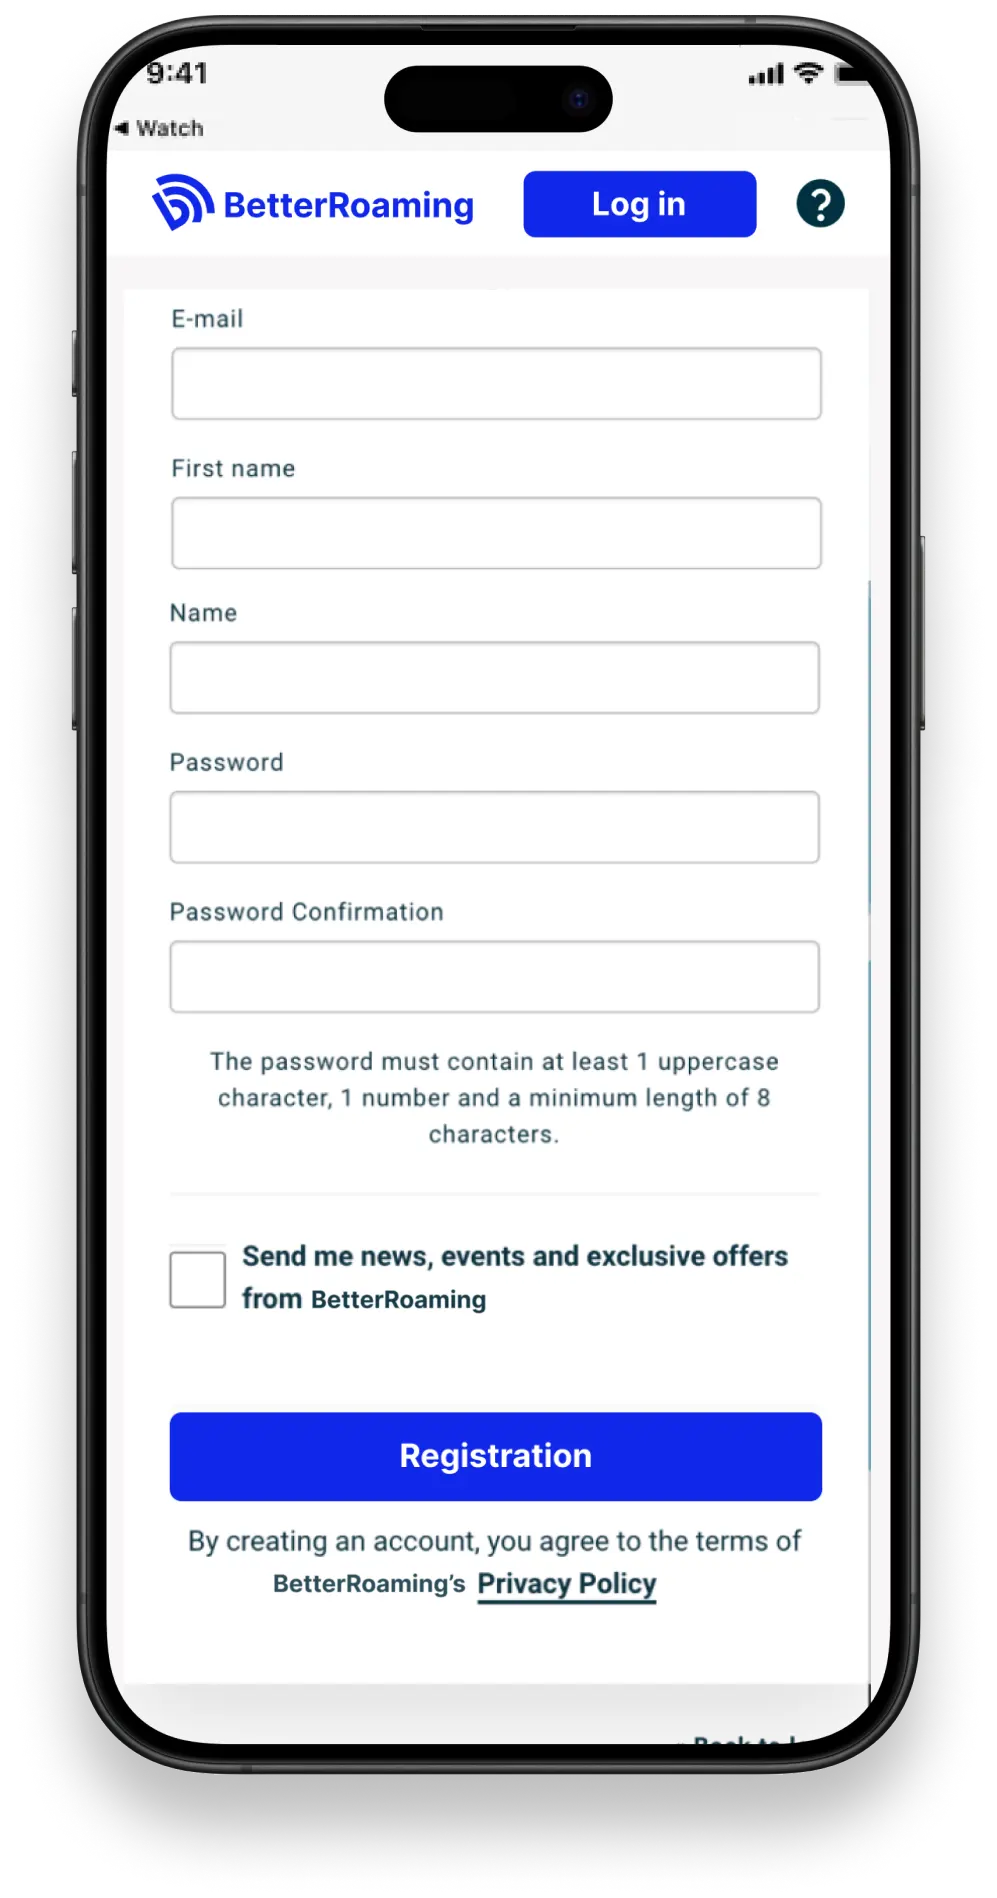
Se for novo na BetterRoaming, ou se não tiver verificado o seu e-mail anteriormente, terá de concluir este passo para avançar
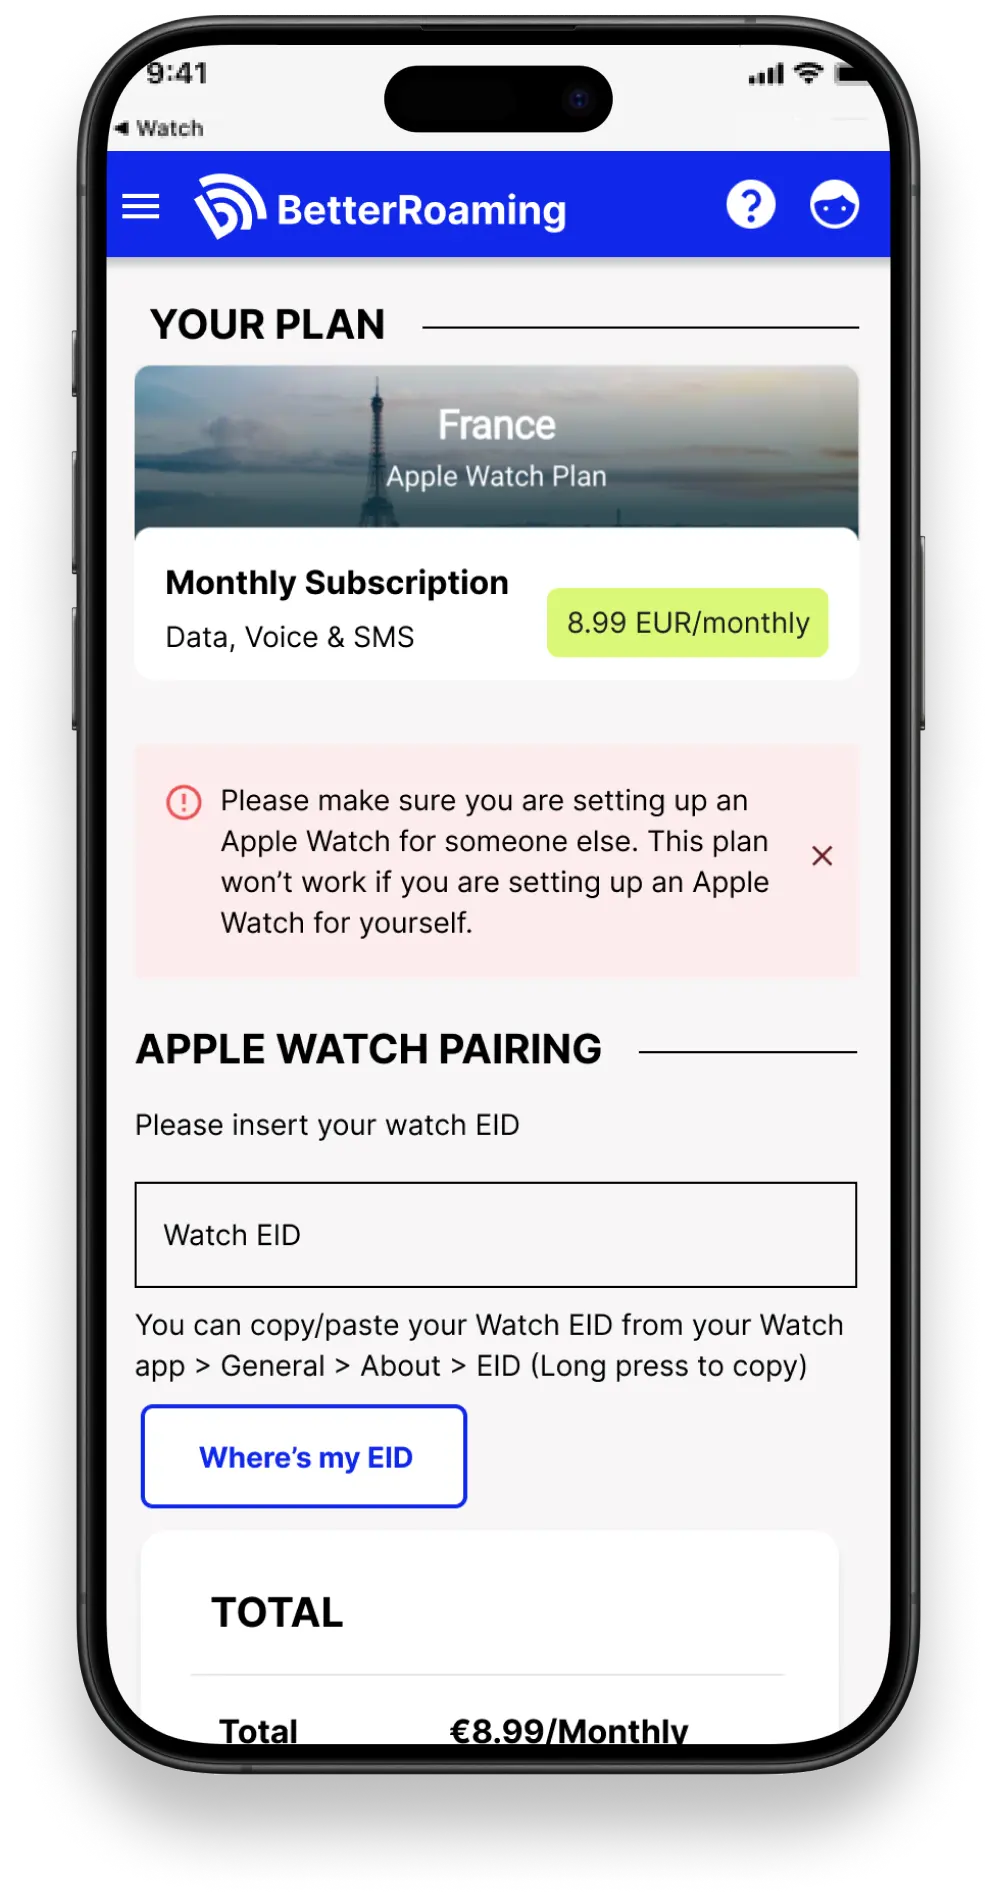
Pode encontrar o EID entrando na aplicação Watch no iPhone e acedendo a Geral > Acerca > EID. Toque durante alguns segundos no número EID para o copiar. Em seguida, pode colar o número no site BetterRoaming.
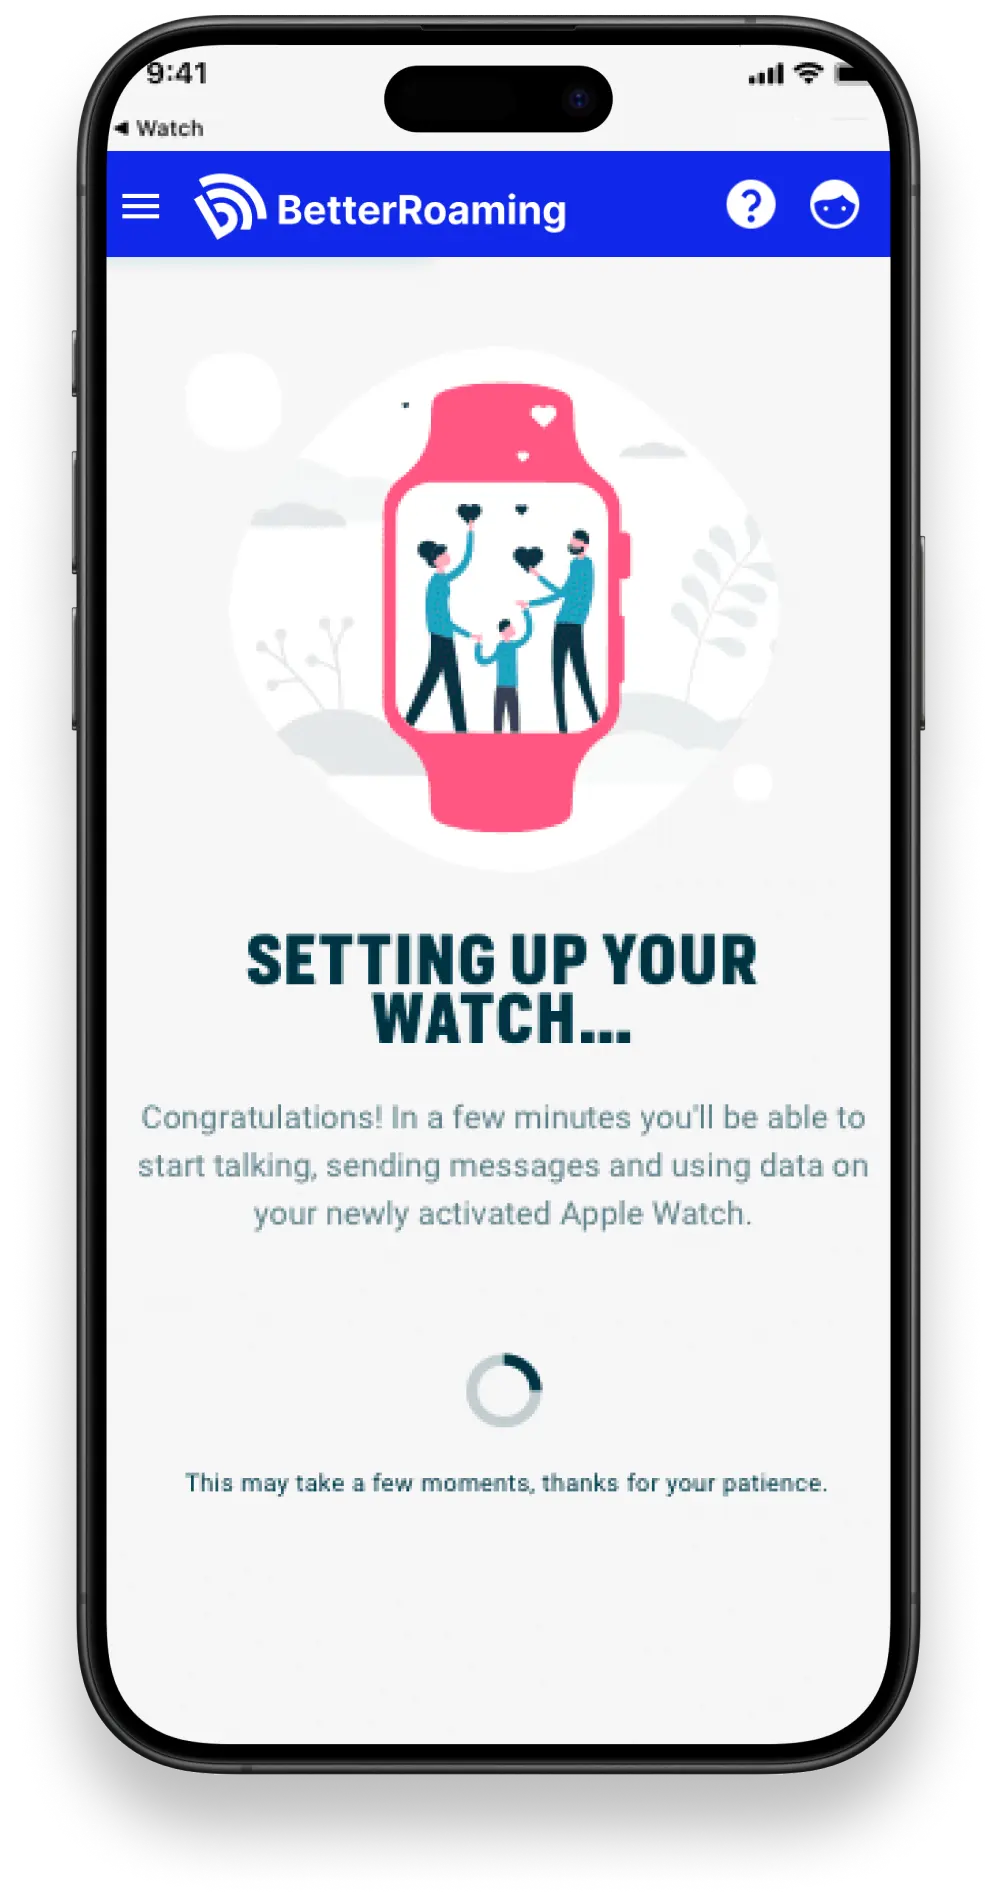
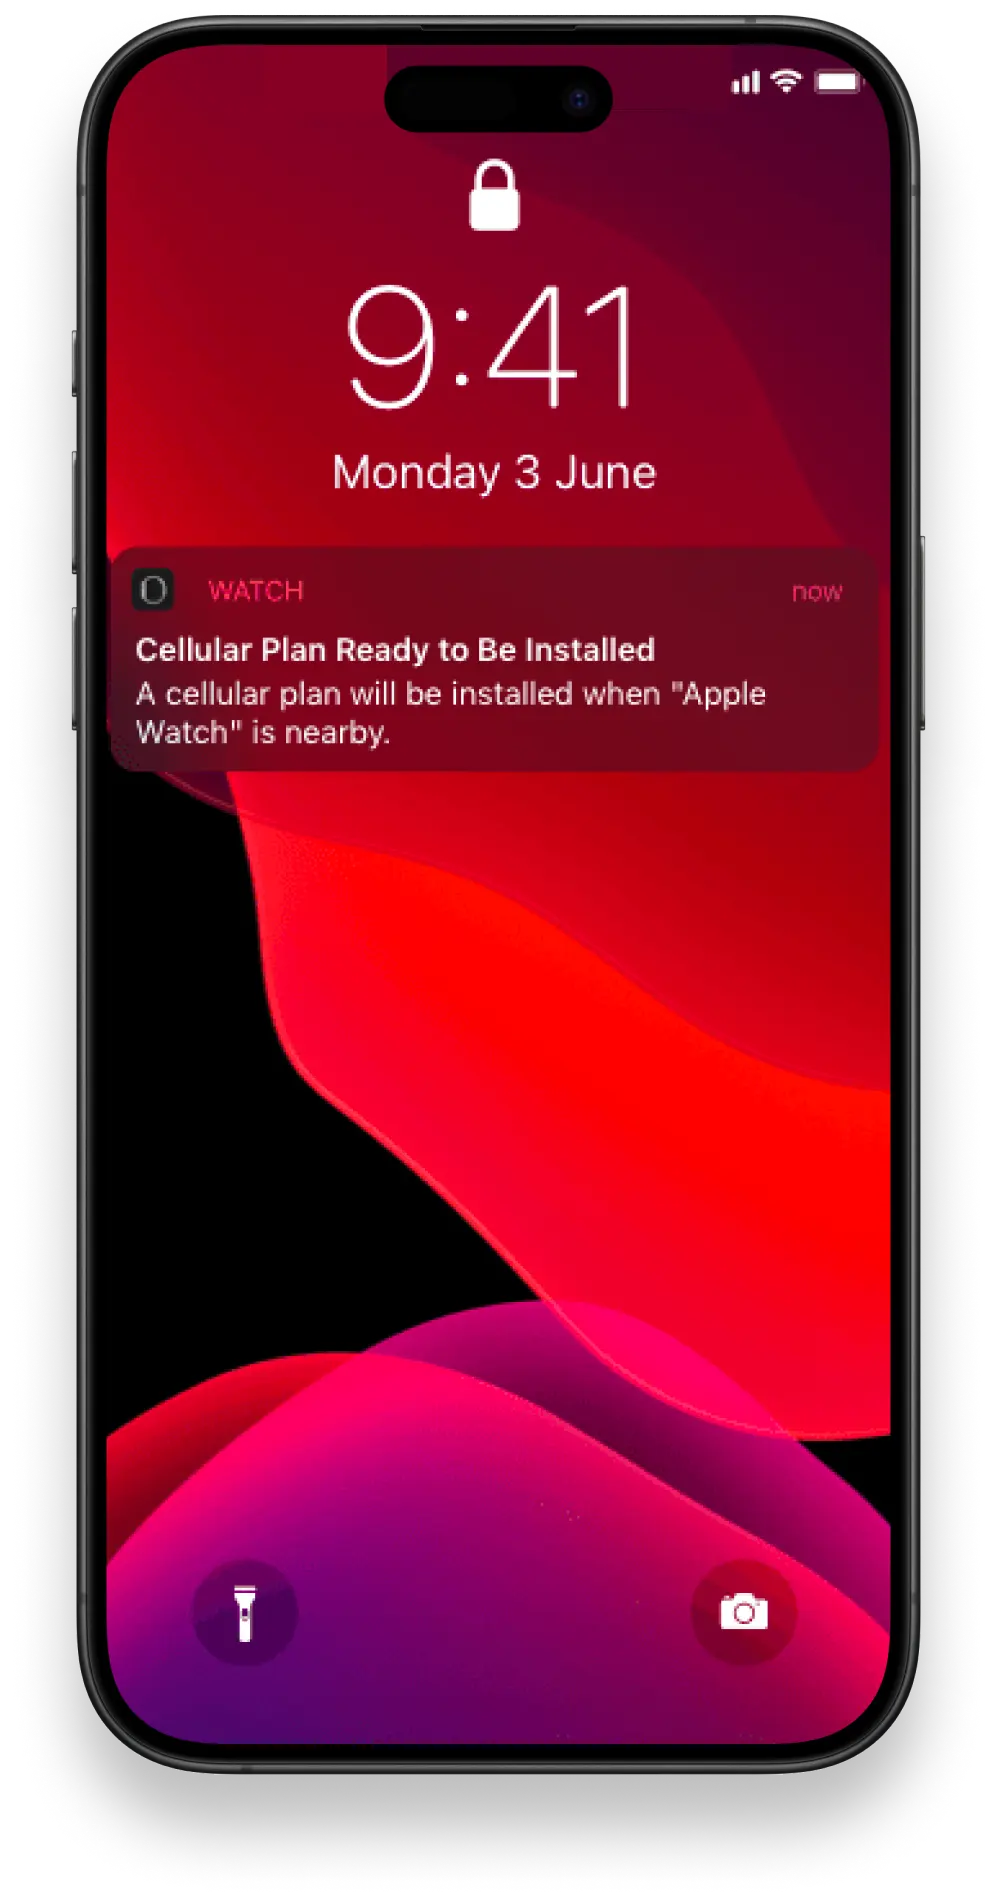
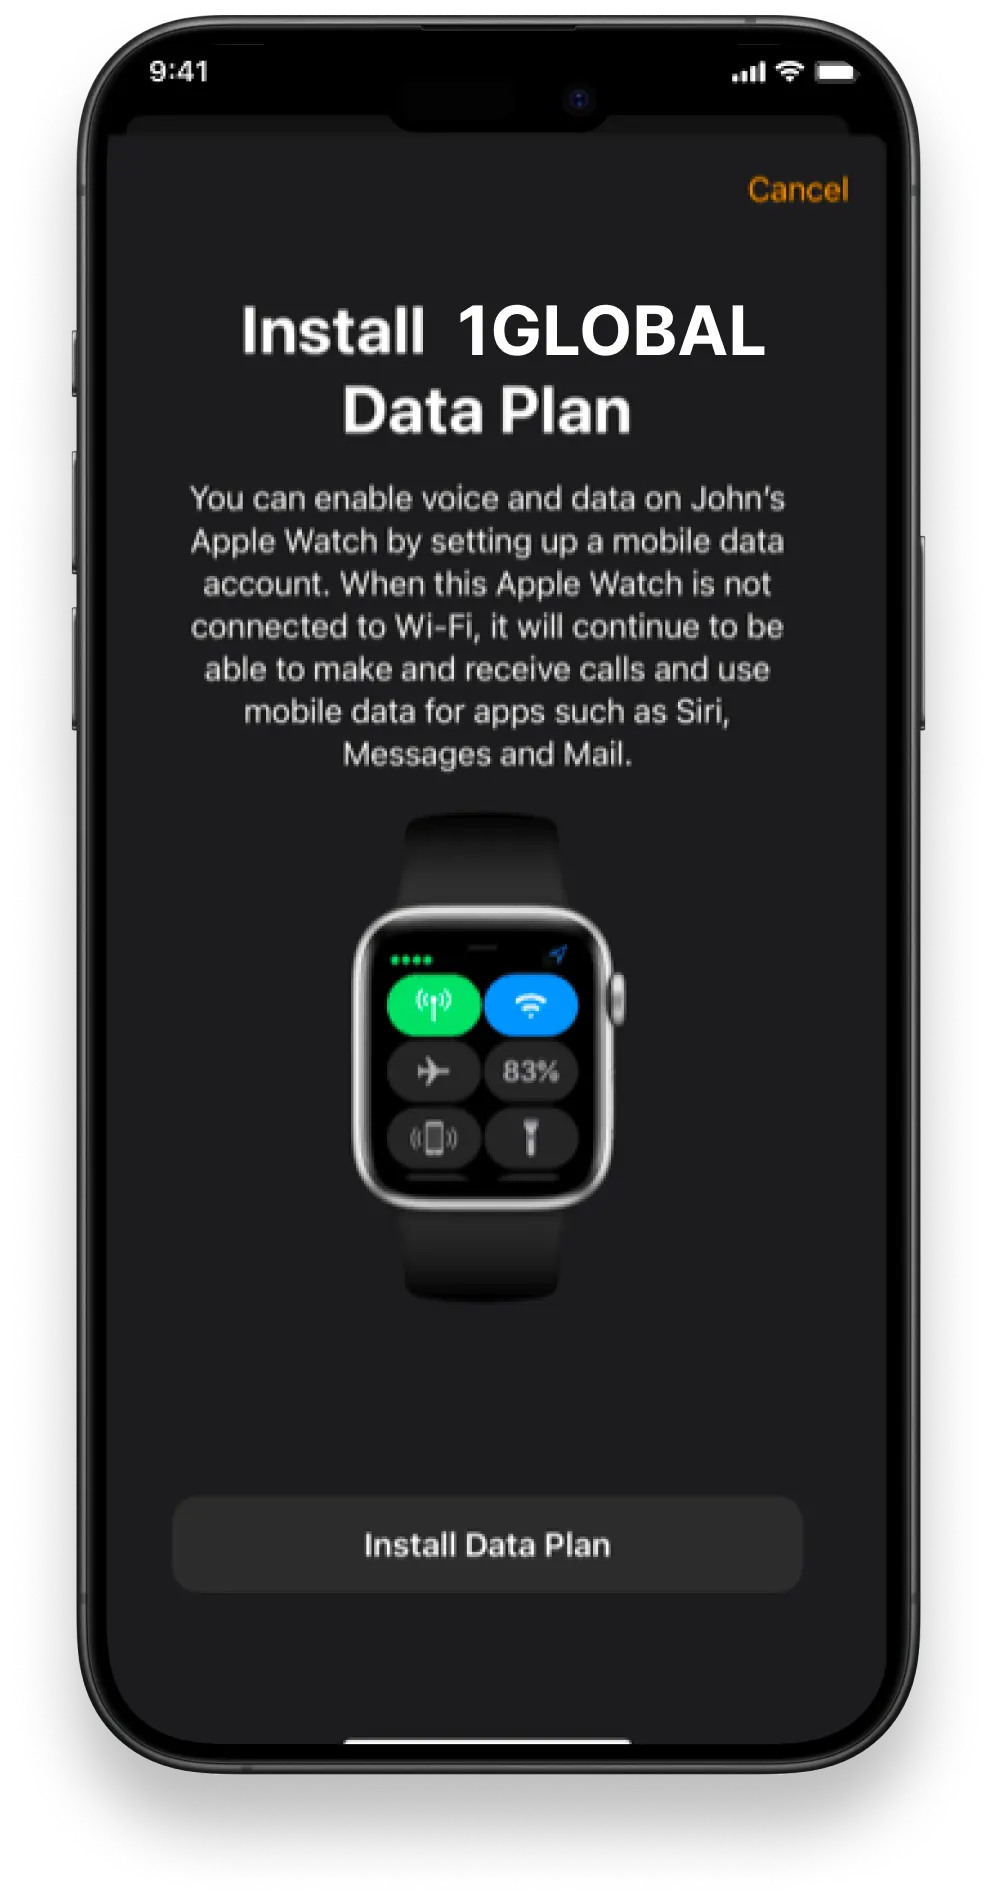
Quando preparado, irá receber uma notificação com um convite para adicionar o plano BetterRoaming ao Apple Watch
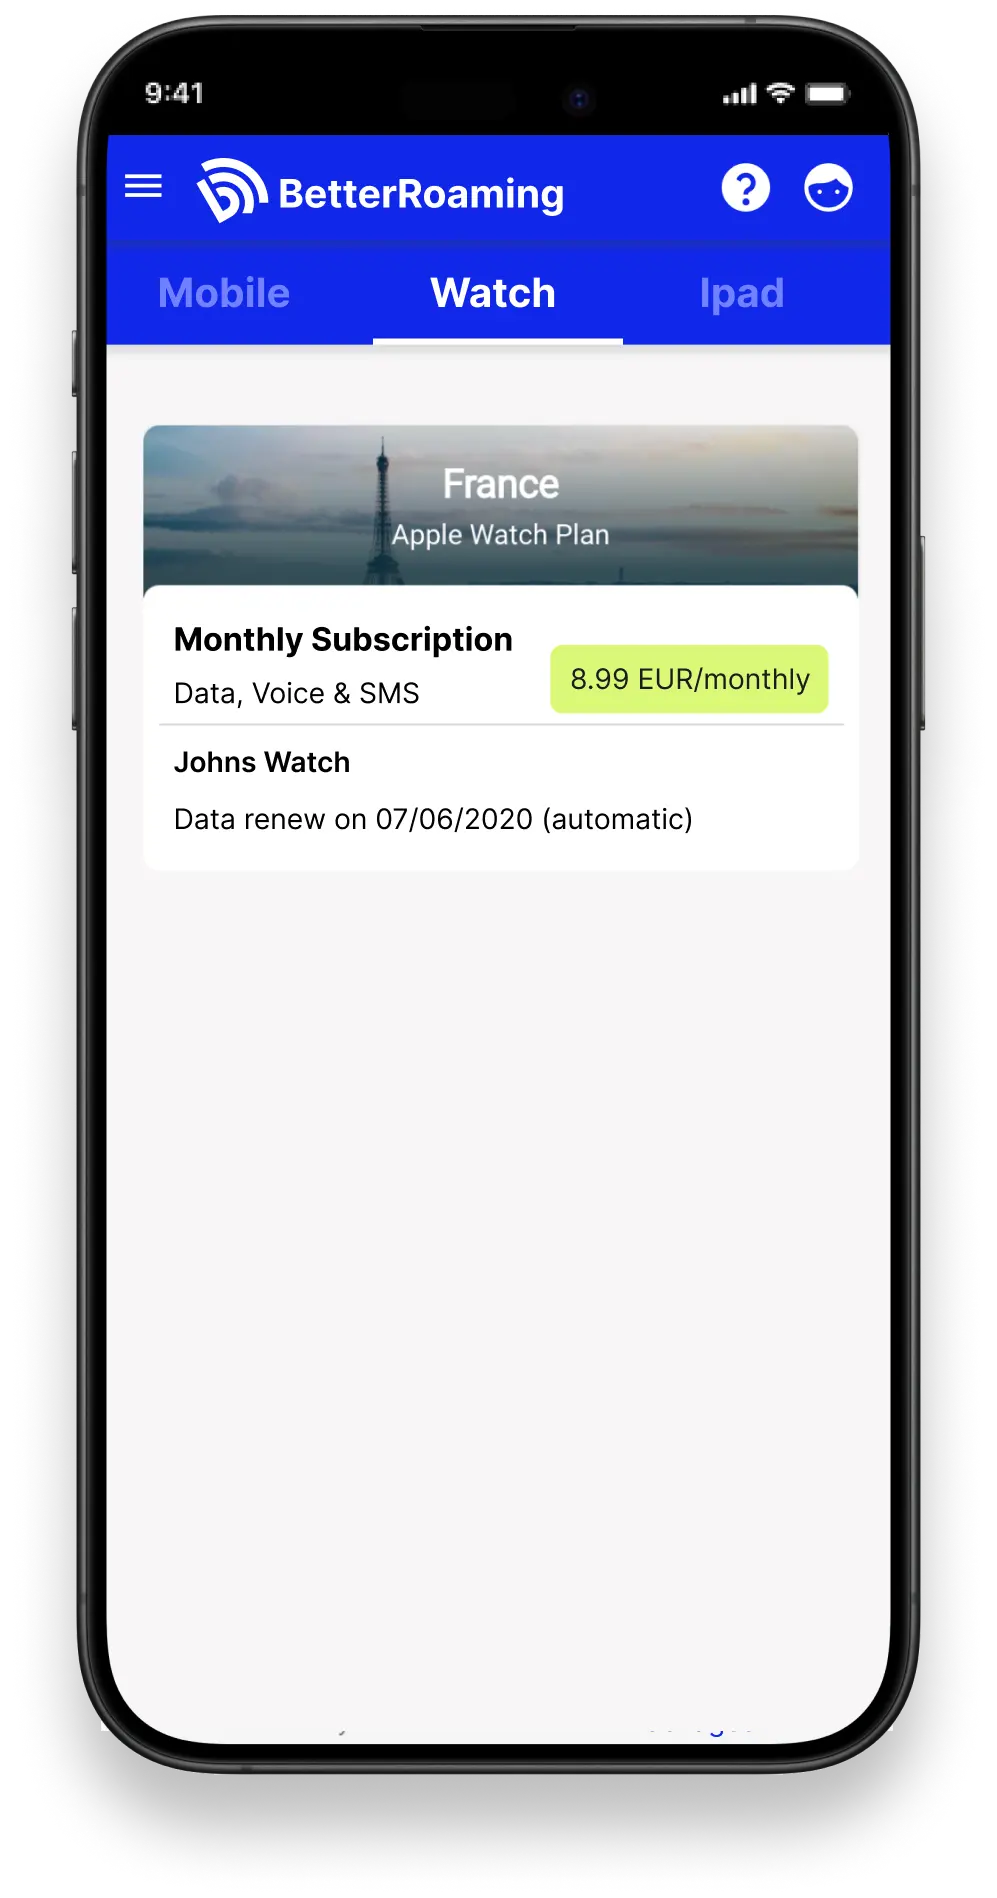
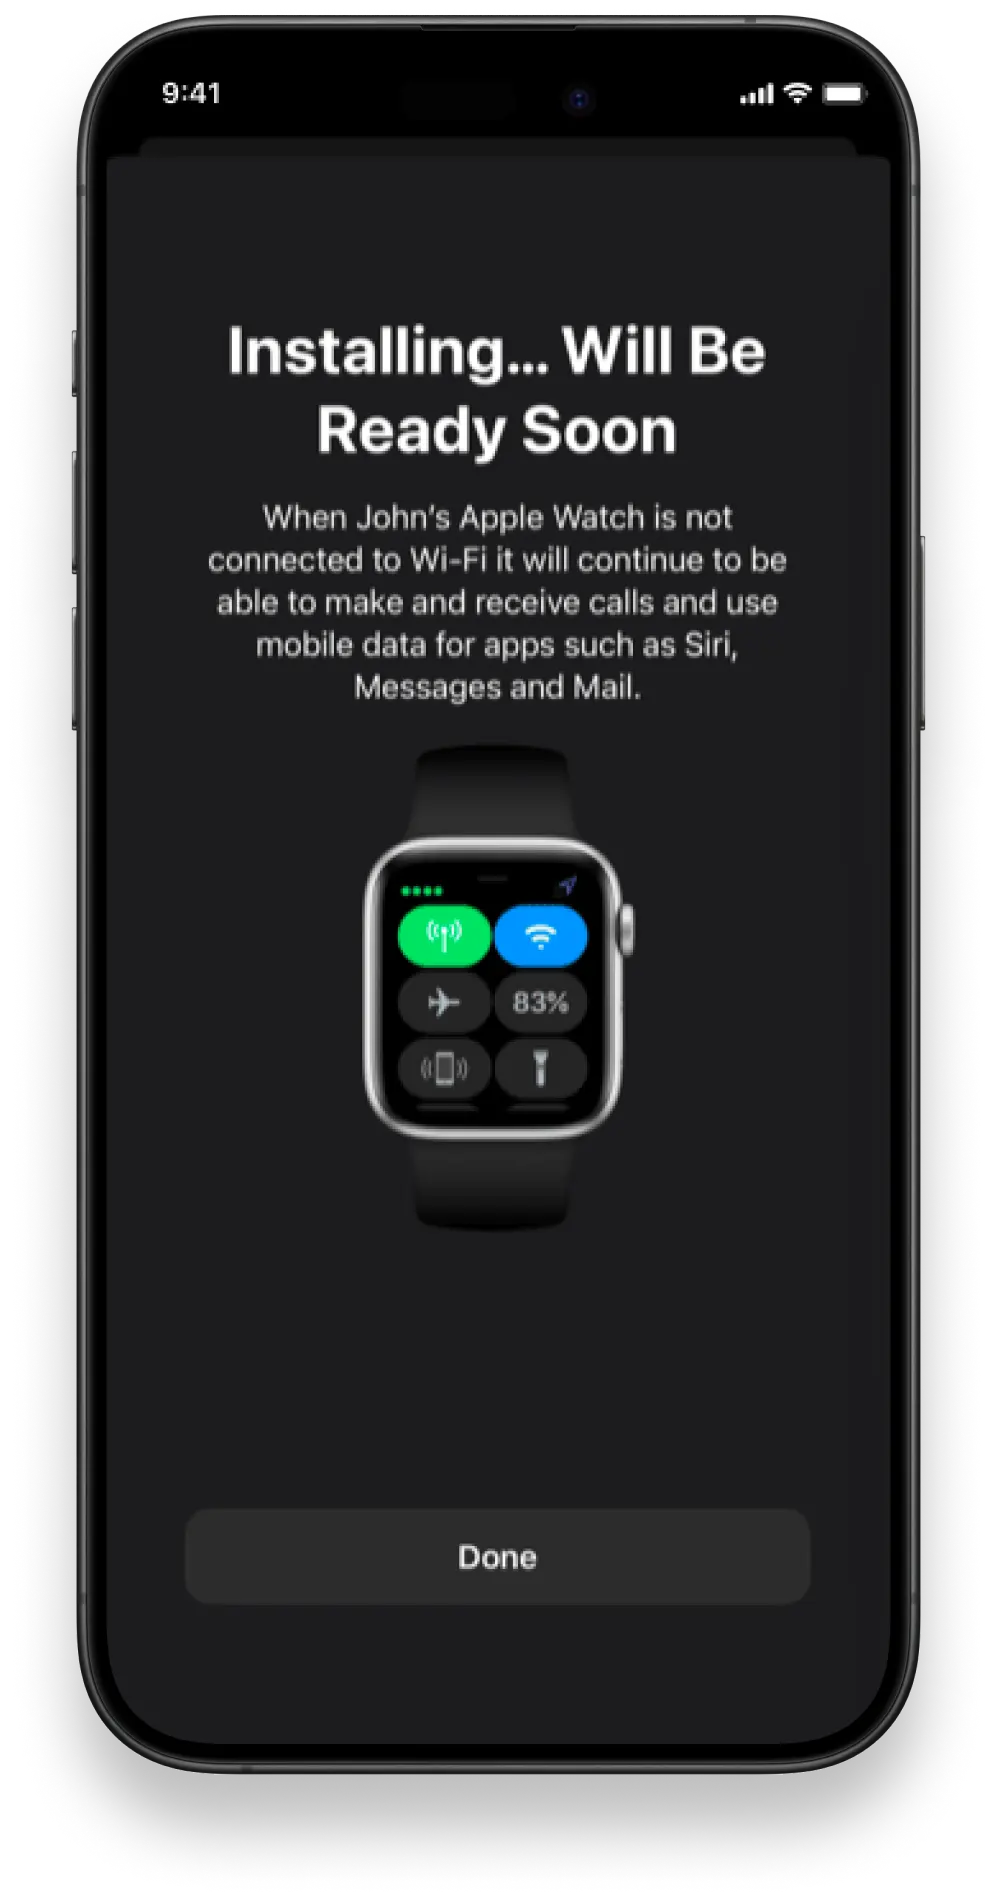
Agora, pode fazer chamadas e enviar mensagens ilimitadas a partir do seu relógio, sem necessitar de um iPhone. Também pode desfrutar de dados móveis ilimitados para utilizar online e com as suas aplicações favoritas.
Adding a data plan manually
If you did not receive the notification in step 8 of the instructions above, you can also manually install a data plan via the Watch app on your iPhone.
e selecione Watch
Pode sempre verificar isto ligando para o relógio através do número de telefone recém-atribuído
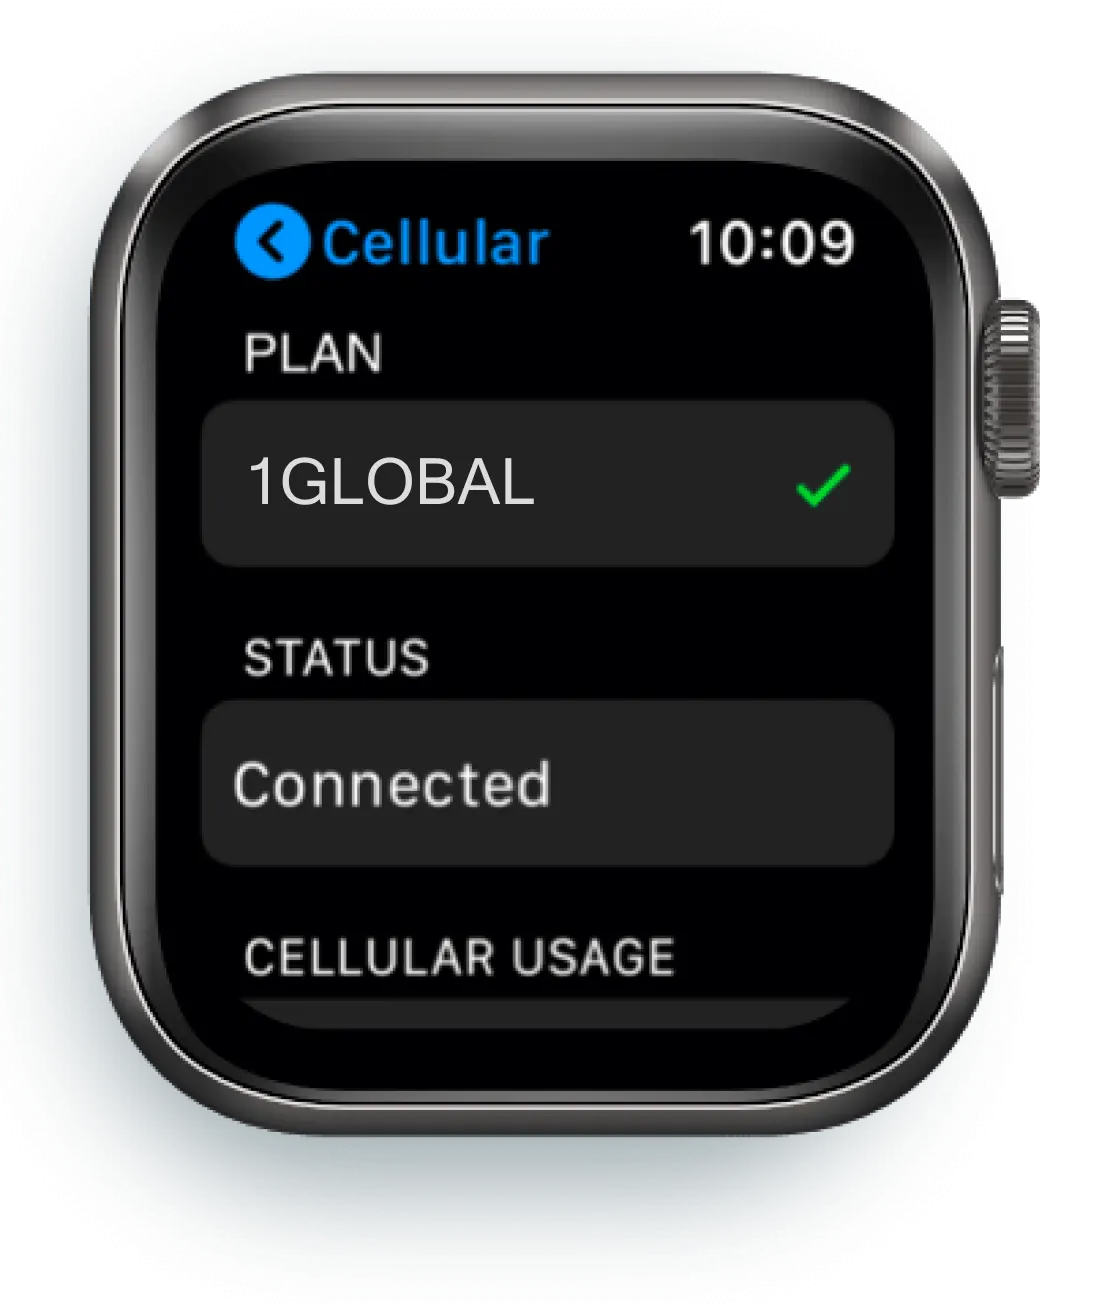
Deverá ver "1GLOBAL", com o estado "Ligado"


